


I’m sure you’ve noticed by now, but Pinterest is one of the most popular websites on the planet. Not only is it an ideal place to pin recipes you love and designer outfits you would someday like to own (preferably before they go out of style), it’s also an ideal platform for collaboration. One of the best ways to collaborate with others on Pinterest is via group boards. Pinterest group boards are just like regular Pinterest boards except that others are allowed to pin images on your board(s) — by invite only. Interested? Here are the basic steps in creating your own group board on Pinterest:
If you’re on the new layout, like I am, follow these instructions:
- Log into your Pinterest account.
- Go to your profile (if you’re not there already), by clicking on your name in the upper right corner.
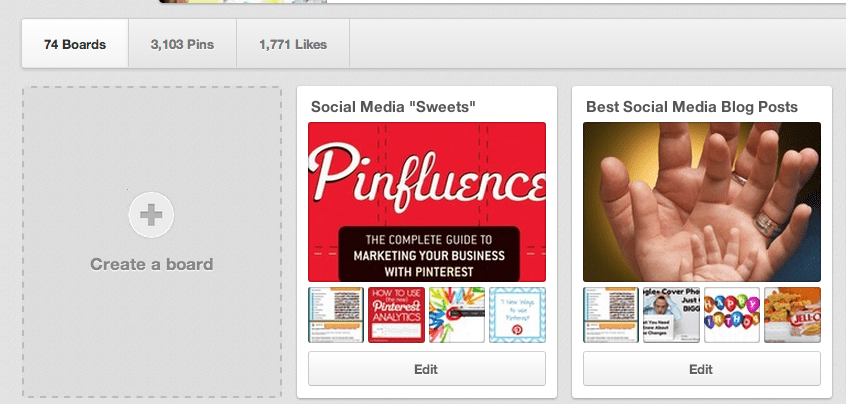
- Click on the + Create a board to the left of your first row of existing boards.
- Choose a solid name for your board and select the most appropriate category. Save the description part for later, as this is vital to your efforts and requires some thought.
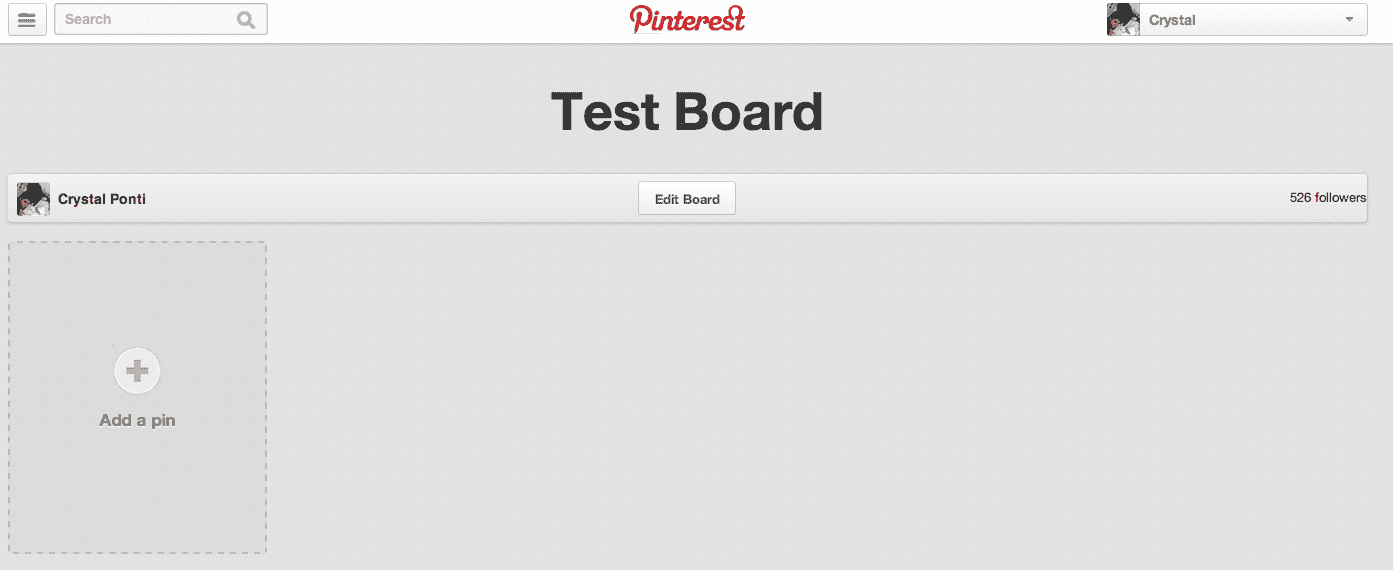
- Once the board is created, click “Edit.” Invite collaborators by adding their names or email addresses next to “Who can pin?”
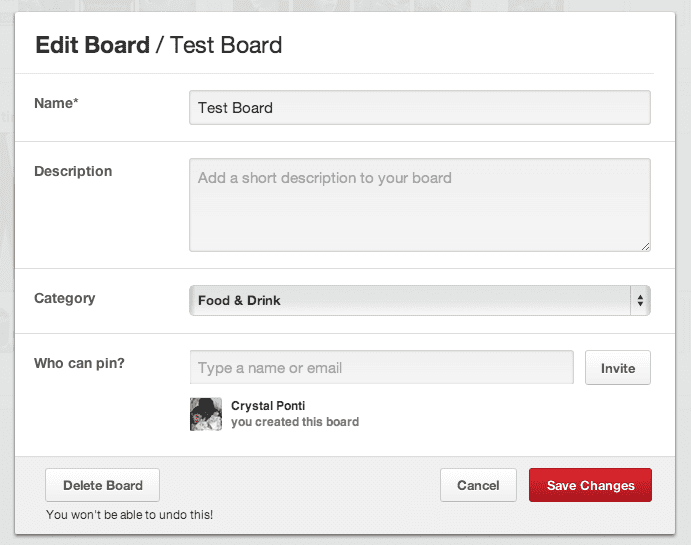
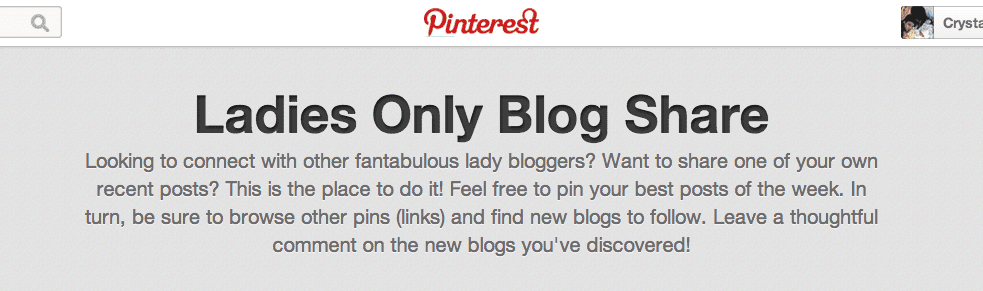
- Before saving, it’s time to think about a description for your board. You want it to be compelling, contain important keywords and also encourage people to follow, “Like” and repin. Here’s the description I gave to my popular shared board Ladies Only Blog Share:
Creating a Group Board Using the Old Layout
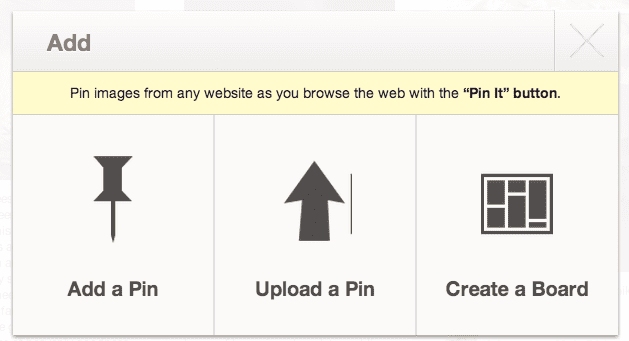
- If you’re still on the old layout (Why?), you’ll want to go to the Pinterest home page and click the Add+ tab at the top of the page.

- Then select the option “Create a Board.”
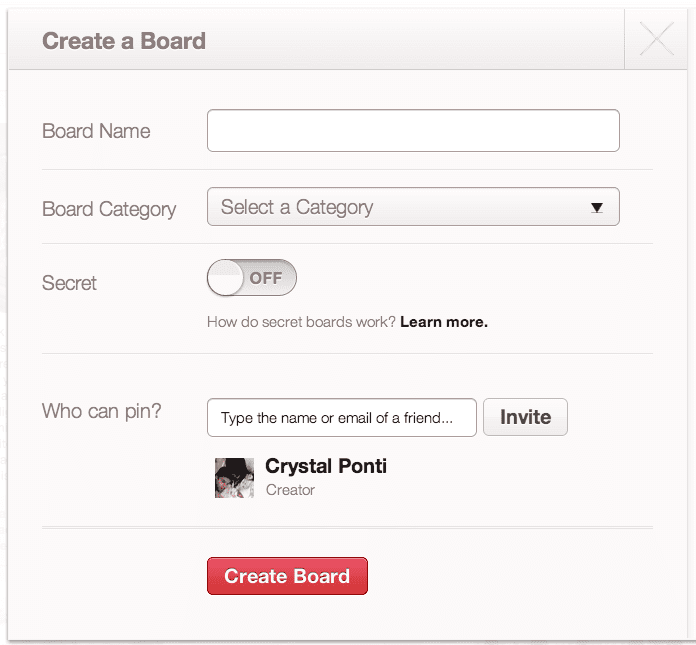
- Create a name, choose a category and then use the “Who can pin?” field to add fellow pinners. You’ll add a description later. Click “Create Board.”
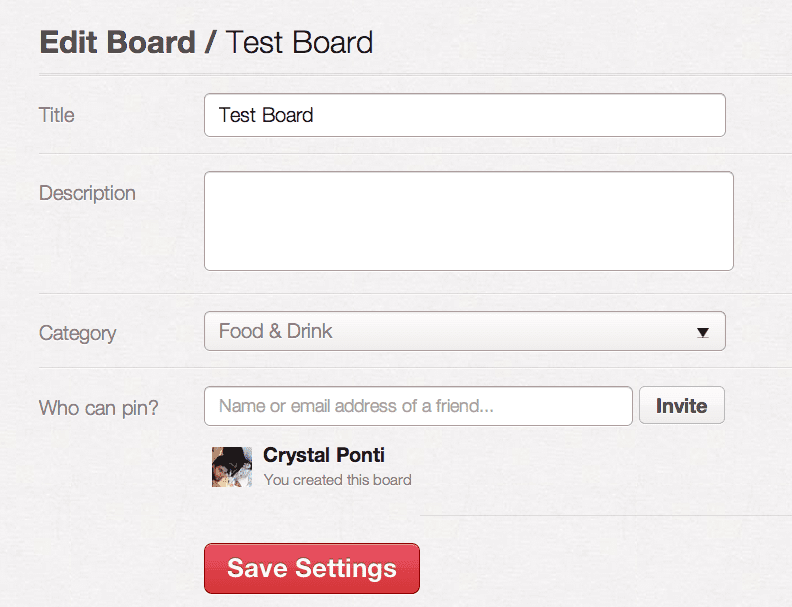
- Now select “Edit” from the top of the page. Add a good description and click “Save Settings.”
With either layout, a little group icon appears next to the group name to let you know it’s a shared board. You can also make any one of your existing boards collaborative by clicking “Edit” and using the same “Who can pin?” field as detailed previously.

That’s all there is to it! Look for an upcoming post about using group boards to maximize your presence and time on Pinterest.